
First, I got the supplies. You only need about 4 pieces of foot long ribbon so if you have them lying around, don't get anymore. If you buy some, make sure you can use it for something else. I bought tulle from the fabric department at Hobby Lobby and it was only $1.37 a yard. I got one yard and left it folded in half. I got the large glass block but of course, it was 50% off as well as the ribbon. The lights were about $3.00 but I used my 40% off coupon. You will also need glue dots and piece of black scrapbook paper.

Next, I drew a freehand face on the black scrapbook paper with pencil and cut it out. I don't know why but I always feel the need to have eyebrows on my jack-o-lanterns.

Next I attached the face to the block using glue dots. I put the pencil side down. I left the opening in the block to the bottom.

Next I put the lights in the opening. I used kitchen shears to cut through the plastic cover and put the lights through the hole that was already there.

Now I layed out the tulle (leaving it folded in half like it is on the fabric bolt. I lined up where the cord would come through and cut a hole in the tulle. I cut it big enough to fit the plug through.
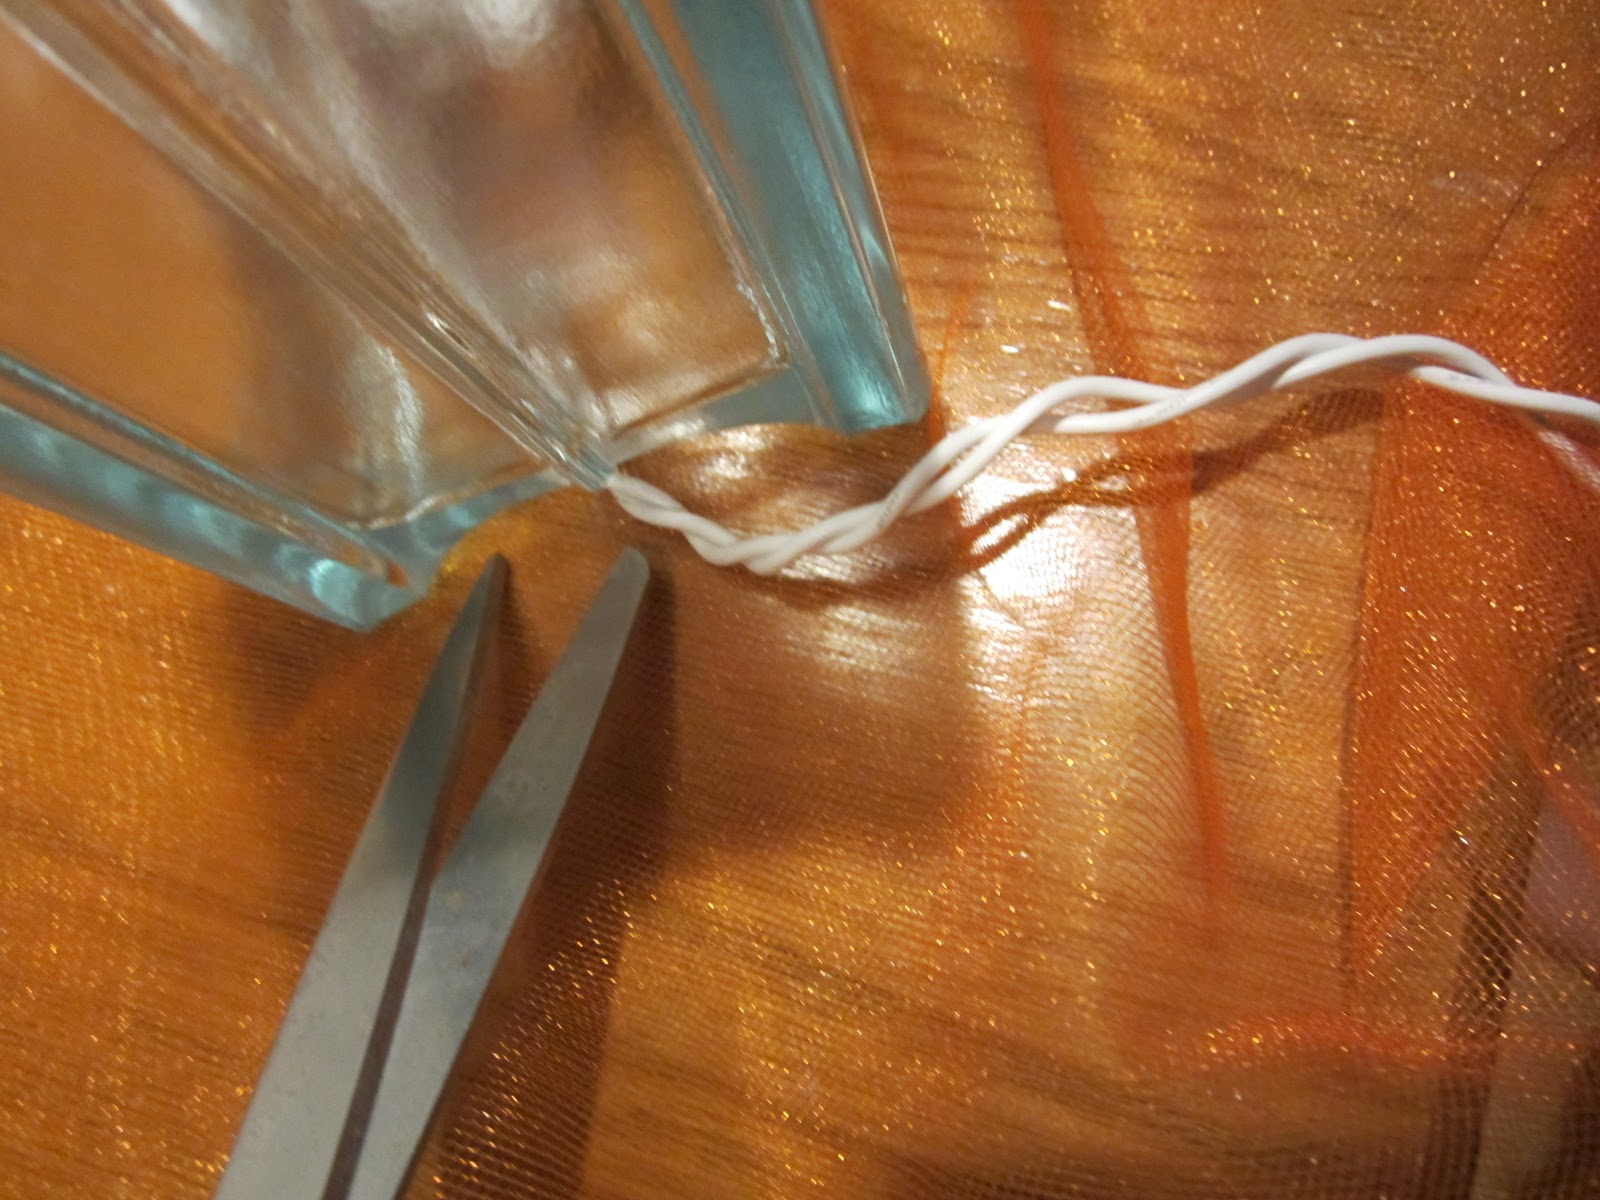
I folded the tulle up and gathered it. I tied it off with a piece of floral wire I bought for another project but you could also use a twist tie off a loaf of bread.

I then tied several pieces of ribbon and trimmed the sides of the tulle until I liked the look. Happy Halloween!!
